
You are sitting in your living room with good friends. Your last vacation, how quickly your kids grew up or your last outdoor adventure is the hot topic of the evening. Notorious like you are you have documented many of your life’s moments with your cell phone or your fancy digital camera. All your pictures are safely stored on your network disk station. Showing these pics to your friends is simple. Browse to your disk station with your TV and show the beautiful photographs in full resolution. One day the internal hard drive of your disk station crashes. All your digital memories lost forever (*1)! It doesn’t need to happen. You can easily backup your disk stations to multiple locations such as external USB hard drives or even to the cloud. I personally backup my Synology Diskstation once a week to an external USB hard drive of similar size and to the Azure Cloud. Making sure I never lose my precious digital memories. In this article, I walk you through how you backup your Synology Diskstation to the Azure Cloud and how you can save money by using the newly announced cool storage.
Setting up cool storage
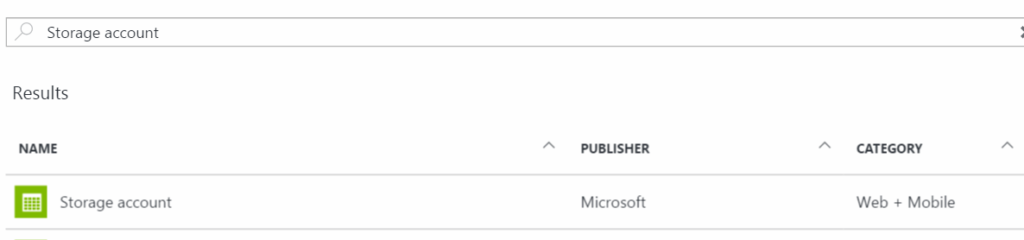
Log into the portal.
Create a new storage account
- Give it a descriptive name
- Set the account type to blog storage
- For better redundancy use Geo-redundant storage (GRS)
- Switch the Access tier from Hot to Cool to save a ton of money! (*2)

Switch to the newly created storage account

Create a new container which is private

On the storage account level click on settings and copy paste from Access keys one of the provided access keys.
Setting up synology backup
Now log into your Synology Diskstation and open the Hyper Backup application (available in DSM > 6.0).
Create a Data backup task.

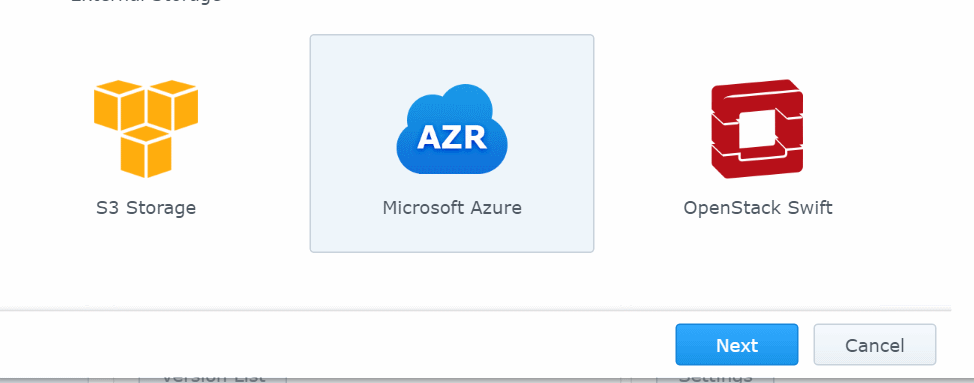
Choose Microsoft Azure as a destination
Provide the storage account name and the access key as well as the previously selected private container.

Choose which Volumes and folders to backup. Optionally you can also backup applications (not shown here).

Set your desired level of encryption and the backup schedule.
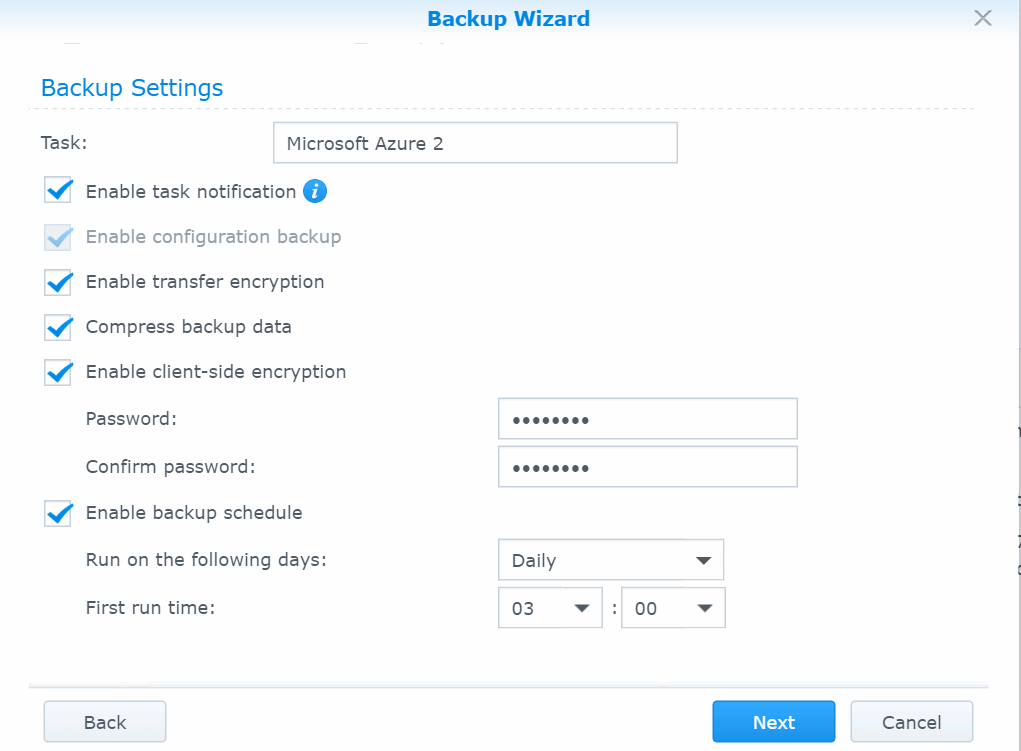
When you choose client side encryption, you have to acknowledge a warning
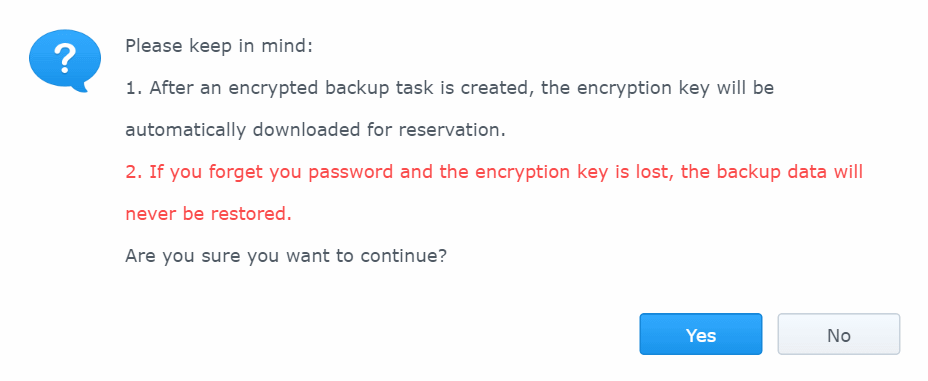
Read it carefully! When you misplace the encryption key you will not be able to restore your data, keep that in mind!
That’s it! Your data will now be encrypted and backup to the cloud. The only thing you can do now is to wait and have patience. Depending on the size of your data and your internet connection this can take days or weeks. When the full backup is over all other backups will be incrementally added and will not take as long as the initial backup.
Stay cool and backup your data!
*1: I’m well aware that good disk stations usually have some RAID or similar failure mechanism. So one hard drive crashing should normally not be the end of the world but still do you want to risk it?
*2: Wether cool storage vs. hot storage saves you money depends on upon your usage of the backups. The assumption with backups is that you rarely ever access that data. So cool storage might turn out to be effectively cheaper than hot storage.